
Last updated November 21, 2026
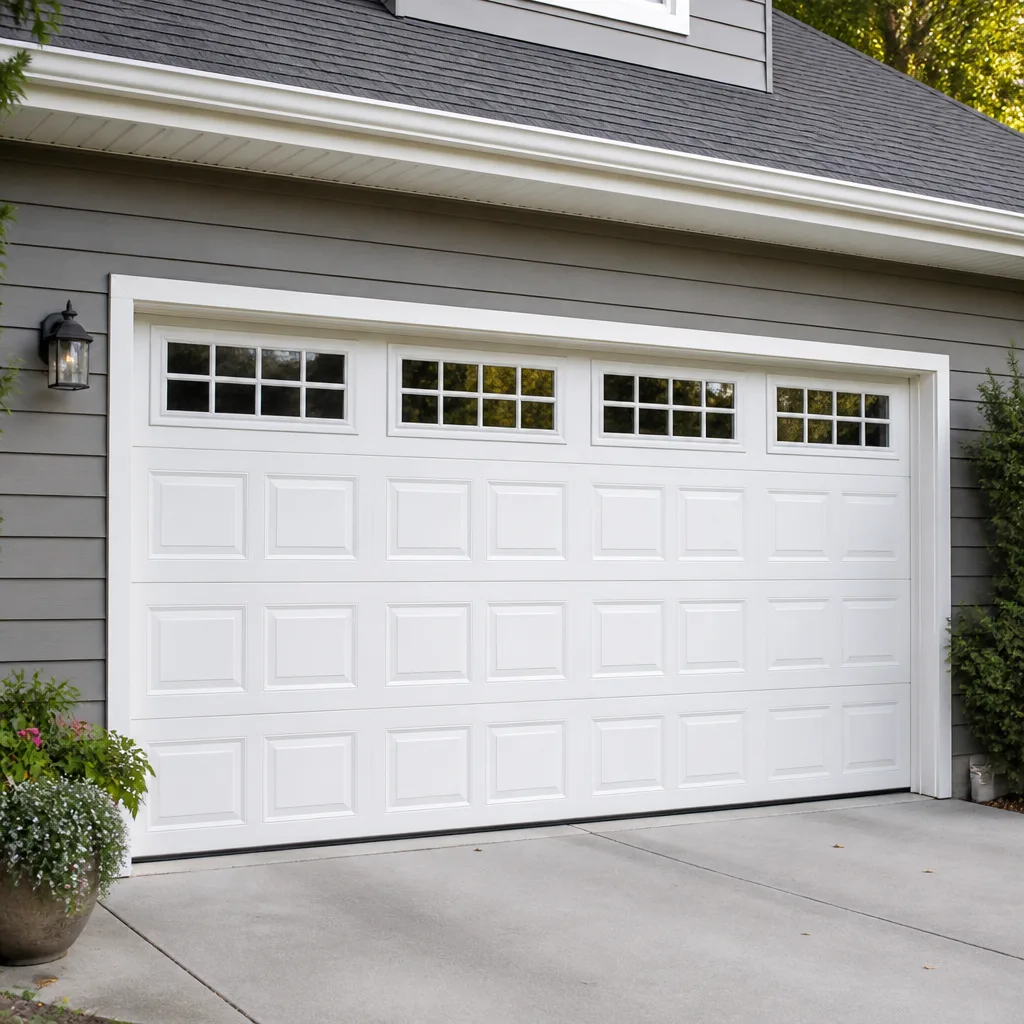 Raised-panel steel
 Carriage house
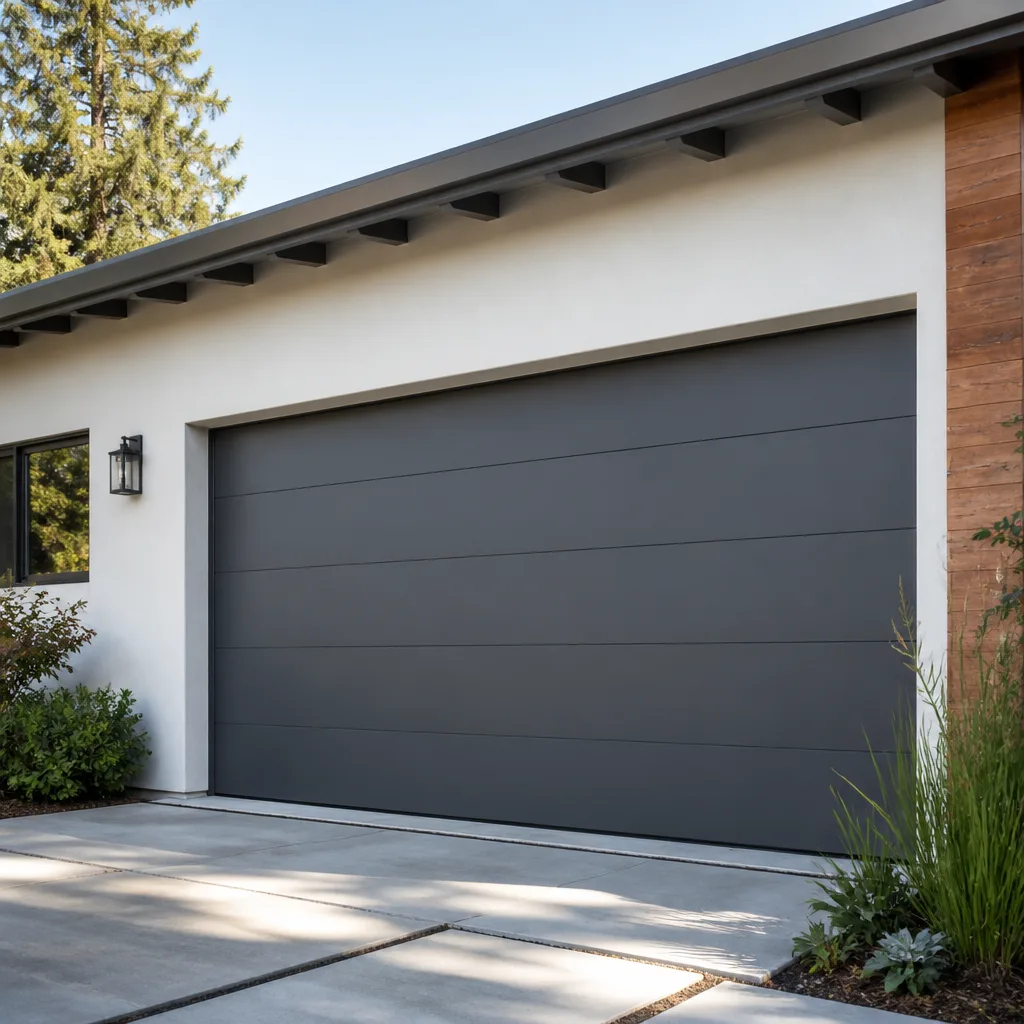 Modern flush
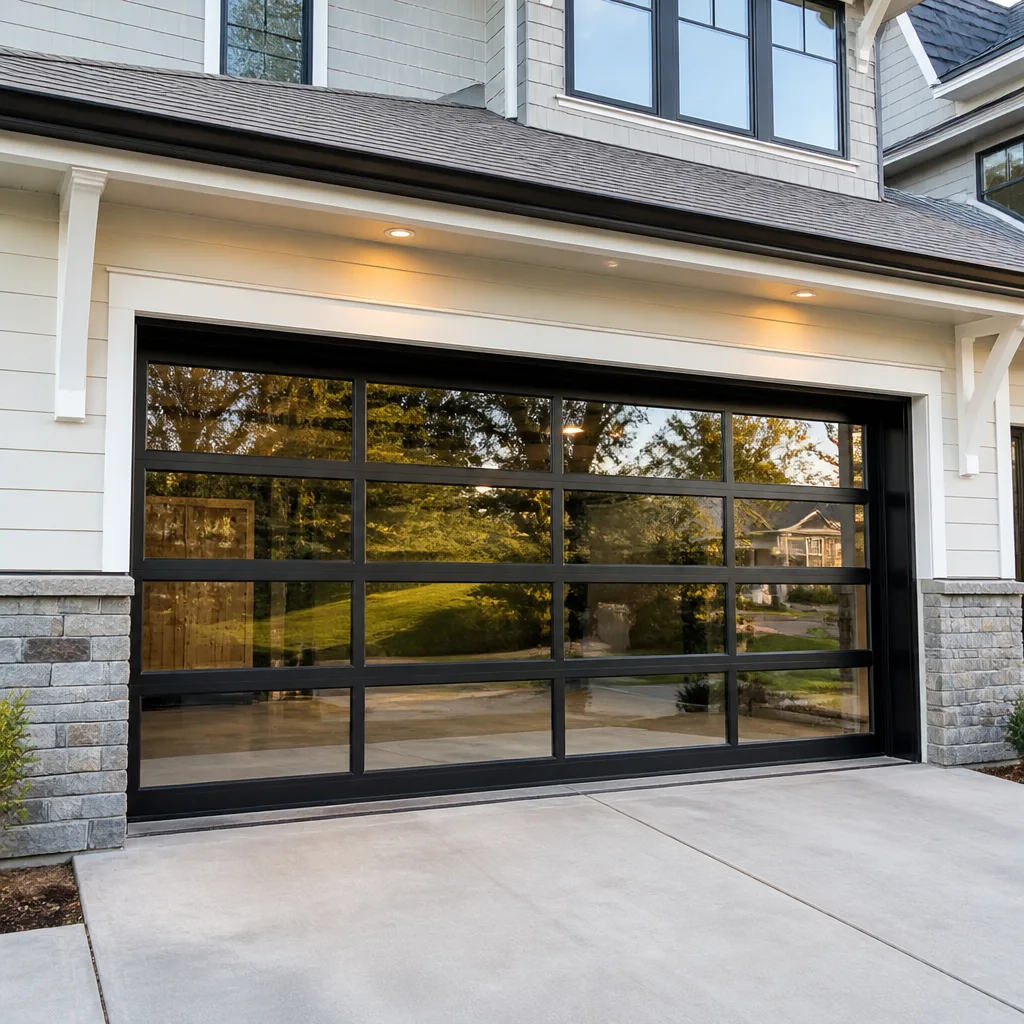 Full-view glass
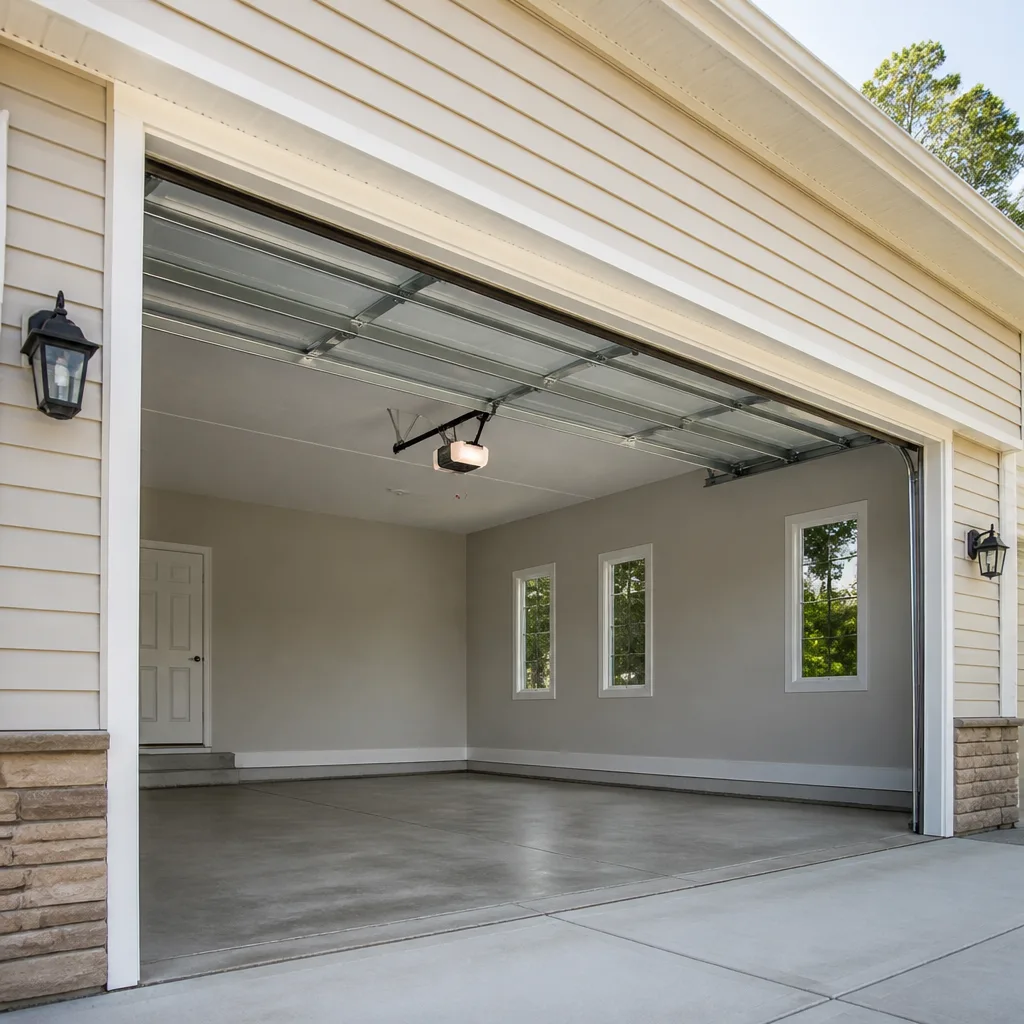 LiftMaster openers
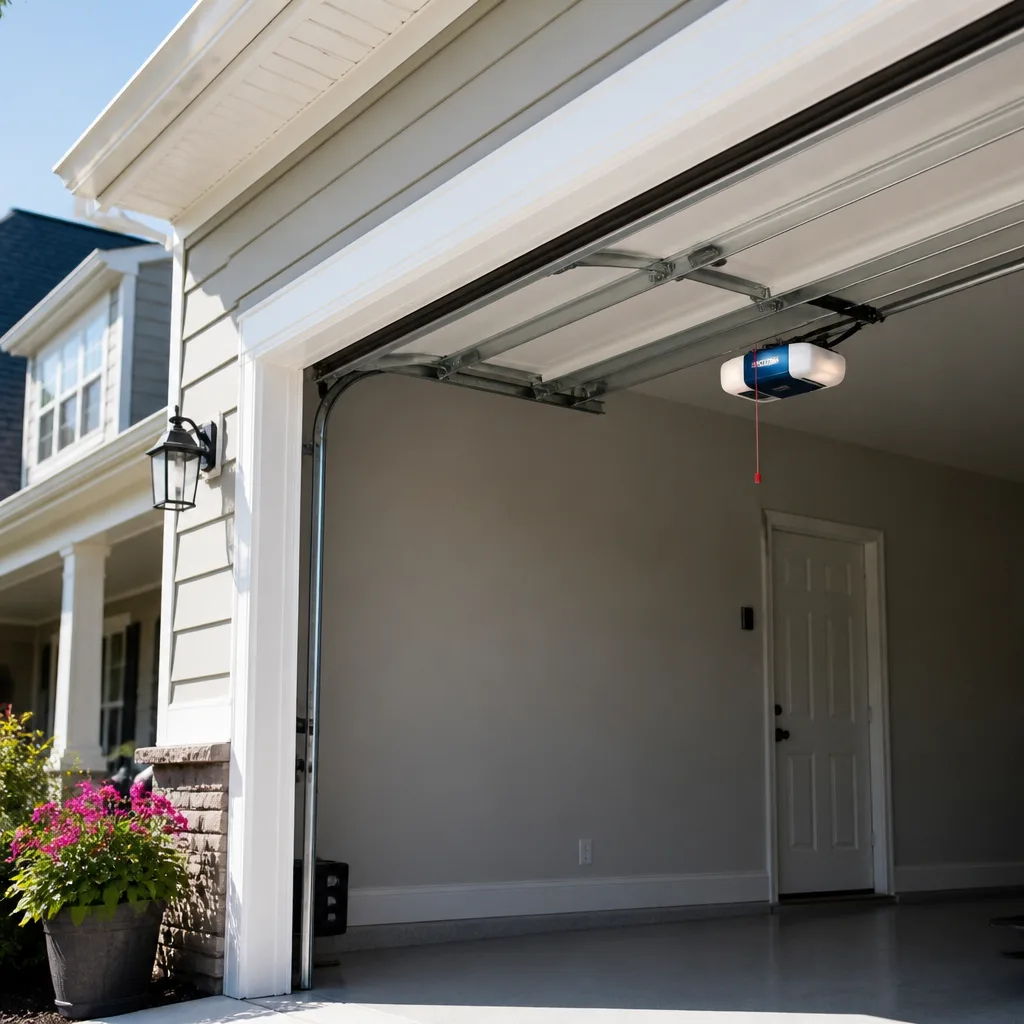 Chamberlain openers
Full 25-point door and opener safety check with every visit - springs, cables, rollers, tracks, and your LiftMaster or Chamberlain opener included
You get a price before we start. It does not change when the pro arrives.
Get your free estimateGarage Door Repair Maintenance Checklist for Easton Homeowners
The number one maintenance mistake we see is homeowners reaching for WD-40 to quiet a squeaky garage door. It feels right, and it’s everywhere online, but WD-40 is a degreaser, not a lubricant. Sprayed on springs and tracks, it strips the protective film that keeps metal from corroding and actually speeds up the wear it’s meant to prevent. We see the results across Easton every winter. This checklist skips the vague “lubricate moving parts” advice and gives you the real thing: every component worth checking, pass and fail criteria you can read at a glance, the exact product that belongs on each surface, and the intervals that actually head off the failures we get called about most in Easton.
Quick Answer
A garage door needs a two-minute visual check once a month and a roughly 20-minute physical inspection twice a year, plus annual lubrication with lithium grease on the moving hardware and silicone spray on the rubber seals – never WD-40 on the springs or tracks. Anything involving the springs, cables, or the torsion assembly is a stop-and-call item for a trained technician, not a homeowner job.
Styles & brands we work with
- Raised-panel steel
- Carriage house
- Modern flush
- Full-view glass
- LiftMaster openers
- Chamberlain openers
Table of Contents
- The Two-Minute Monthly Visual Check
- The 20-Minute Semi-Annual Physical Inspection
- Which Lubricant Goes Where (and Where Nothing Goes)
- Springs and Cables: The Parts You Never Touch
- Opener, Safety Sensors, and the Balance Test
- Easton Winter and Power-Outage Triggers
- What to Check Before You Replace Parts
- Keeping a Simple Maintenance Log
The Two-Minute Monthly Visual Check
The monthly check is about spotting change, not fixing anything. You’re looking for what’s drifted since last month so a small problem doesn’t harden into a snapped spring or a door that won’t close. It takes about as long as making a coffee. Stand in the driveway with the door closed first, then repeat from inside the garage.
Here’s the monthly routine, in order:
- Look at the springs. With the door closed, glance at the torsion spring above the door (horizontal) or extension springs along the sides. A gap in a spring, a coil that’s clearly separated from the rest, or a stretched look are all fail signs. If you see any of them, don’t operate the door – call.
- Scan the cables. The steel cables should be taut with no fraying, kinks, or slack hanging loose. A cable drummed up wrong or a strand that’s unwound is a fail.
- Check the track alignment by eye. The vertical and horizontal tracks should look straight and parallel, with no obvious dents or bends. Look especially at the curve where the vertical track turns horizontal – that’s where a hard jolt shows up first.
- Look at the rollers. You’re checking for cracks in the nylon and visible looseness in the steel. A chipped or split roller is a fail, even if the door still runs.
- Test the door’s gap at the floor. With the door closed, the bottom seal should touch the floor evenly across the width. Light showing through in one spot means the seal or the door’s alignment has shifted.
- Press the opener and listen. The door should run smooth without grinding, squealing, or a rhythmic thump. New sounds are the earliest signal you’ll get.
That’s it. No tools, no ladder, no reaching over the door. You’re building a baseline so you and any technician can tell what’s normal for your door and what isn’t. For Easton homeowners, the monthly check is also the fastest way to catch a problem before the next cold snap locks it in.
The 20-Minute Semi-Annual Physical Inspection
Twice a year, once in spring and once in early fall, you spend an actual 20 minutes on the door. Fall matters more here, because the first hard freeze in Easton is when marginal hardware tends to fail. This inspection adds hands-on checks to everything in the monthly list, and it’s where you find the wear that doesn’t show up by eye alone.
Work through it in this order:
- Do the balance test. Pull the opener’s release cord to disconnect the door, lift it to about halfway, and let go. A balanced door holds there on its own. A door that drops is out of balance and needs a technician – the spring tension is off, and that’s not a homeowner adjustment.
- Listen to the rollers and hinges. Moving the door by hand, you’ll hear which rollers and hinges squeak or grind. Those are your lubrication targets.
- Wiggle the hinges. With the door closed, a hinge shouldn’t flex or rattle in its mount. Loose screws can be tightened; a hinge that’s cracked or worn through at the pin is a swap item.
- Check the opener’s force and travel. The door should open fully without the opener straining and close all the way without reversing on its own. If it reverses before hitting the floor or grinds at the top, the travel limits or force settings need attention.
- Test the safety sensors and the auto-reverse. Break the beam between the sensors with your leg while the door is closing – it should reverse. Lay a roll of paper towels under the door and close it – it should reverse on contact. Both of these protect a person or an animal, so they’re non-negotiable.
- Inspect the weather seal at the bottom. Run a hand along the rubber. Feel for brittleness, cracks, or a section that’s flattened. A hard, cracked seal doesn’t stop drafts or water, and Easton winters find every gap.
- Look at the hardware. Bolts, brackets, and the track fasteners holding the vertical and horizontal rails should all be present and snug. Look for rust streaks, which point to moisture creeping in.
If anything on this list comes up a fail – especially anything on the springs, cables, or balance test – stop and book a technician rather than pushing through. Everything else you can fix on your own or flag for a professional visit under garage door repair.
Which Lubricant Goes Where (and Where Nothing Goes)
This is the section that saves most doors. Lubrication is where homeowners do the most damage with the best intentions, because not all garage door metal wants the same product. Apply the wrong thing and you either attract grit that turns into grinding paste or you strip the coating that protects against rust. Here’s the component-by-component breakdown, and it’s the one to keep on the fridge:
- Rollers and hinges: lithium grease or a garage-door-specific grease. A light coat on the hinge pins and the roller bearings is all you need. This is the workhorse product for the moving metal hardware.
- Tracks (the inside channel where the rollers ride): silicone spray, not grease. The rollers need to roll, not slide, so you want a dry film. Grease in the track collects dust and grit, and that’s what wears rollers and bends rails.
- Rubber weather seals: silicone spray. Keeps the seal supple through winter and stops it from cracking. Grease on rubber makes it break down.
- Springs: nothing at all. Torsion and extension springs should stay bare and dry. Some lubes on the market say they protect springs, but most leave a film that grabs grit and holds it against the wire, which is exactly the abrasion that shortens spring life. Leave them clean.
- Opener drive rail: the manufacturer’s specified grease only. Screw-drive and chain-drive openers want different products, and the wrong one accelerates wear. Check your opener’s manual – brands like LiftMaster and Chamberlain spell this out in the instructions. The belt-drive rail on some Genie models needs little to nothing.
- Nothing at all on the opener motor or its circuit board. No spray, no cleaner, no compressed air blast into the housing. That’s a call-us item if it’s acting up.
One more product rule: avoid WD-40 on any part of the door. It’s a solvent, not a lubricant, and it breaks down the film the correct products leave behind. Use a genuine lithium grease and a silicone spray and keep the WD-40 for rusted bolts in the shed. If the door has never been lubricated or you don’t know which grease is on the opener rail, a professional visit is cheap insurance – a technician with our team’s up to 8 years of experience can identify your opener and the right product in seconds.
Springs and Cables: The Parts You Never Touch
We want to be explicit here because it’s the most important safety line in this whole guide: springs and cables are not homeowner items, no matter how handy you are. A garage door spring under tension holds a force that can easily break a bone or worse if it releases unexpectedly, and getting the wind count, the tension, and the replacement right is a trained job with the right tools. Old springs should be handled as if they could let go at any moment.
What you can do is recognize a failure and shut the door down safely:
- The door feels unusually heavy when you lift it by hand (only ever with the opener disconnected and the door closed first). A sudden change in weight usually means a spring has lost tension or broken.
- You see a visible gap or coils separated on the torsion bar or extension spring. That’s a failed spring. Don’t operate the door – leave it where it is and call.
- The door goes up halfway and stops, or stalls when the opener tries to lift – a classic broken-spring symptom.
- The cables have come off their drums or are lying slack or tangled. That’s a cable failure and a real injury hazard if someone tries to fix it themselves.
What a spring repair actually involves, done right: the technician identifies the spring, the wire size, and the wind direction, uses proper tensioning tools, replaces the spring (and usually the matched pair together, since a second spring of the same age is on borrowed time), then re-balances and tests the door. This is one of the most commonly botched jobs in the trade, and it’s why spring repair is a practiced specialty for us rather than an upsell. If you suspect a spring problem in Easton, don’t wait for it to get worse. Call (866) 926-2341. We answer 24/7. Fast dispatch from 7am to 7pm, Sunday through Friday.
Opener, Safety Sensors, and the Balance Test
The opener and its sensors need their own routine because they’re electronic and fail in ways the door hardware won’t show. A garage door opener is the most-used appliance in many homes, and most of the problems we get called about are routine settings and sensor alignment rather than dead motors. That’s good news for the homeowner who knows what to check first.
Here’s the opener check, and this is the one to do alongside the semi-annual inspection:
- Clear the sensor lenses. The two small sensors at the floor of the door on each side of the opening should be clean, aimed at each other, and both lit. Spider webs, dust, and a bumped lens are the most common cause of “the door won’t close.”
- Test the sensor beam. With the door closing, break the beam – the door should reverse immediately. If it doesn’t, the sensors aren’t working.
- Test the auto-reverse on contact. Put a roll of paper towels or a sturdy box under the door’s path and close it. The door should reverse on contact. This test is part of the manufacturer’s own instructions for a reason – it’s the last line of safety.
- Watch the travel. The door should reach the floor and stop, not stick above it or drive into it and grind. The open position should clear the header evenly.
- Listen to the opener’s motor. Grinding, a rhythmic clunk, or a straining sound as the door travels points to a worn gear, chain, or drive sprocket. That’s where you call for garage door opener repair rather than soldier on – a failing drive can drop the door.
- Check for warning beeps or blinking lights. Many openers flash a code for a force or travel fault. Note the pattern; it often tells the technician exactly what’s wrong before a visit.
If your opener is a LiftMaster, Chamberlain, Genie, or Craftsman unit, there’s a good chance we’ve already diagnosed that model. Familiarity with the major systems speeds up the call. If the unit is old enough that parts aren’t made or the drive is wearing out, a new unit under garage door installation is often a better path than repeated repair.
Easton Winter and Power-Outage Triggers
Two things in Easton reliably stress a garage door more than the calendar does: hard winters and repeated power outages. Both are reasons to bump up inspection frequency beyond the standard monthly-then-semi-annual rhythm. When either runs hot, we recommend going back to the semi-annual physical inspection and giving every component a fresh look.
Hard winters. Freezing temperatures make seals brittle, stiffen greases, and put extra strain on springs that are already near the end of their life. Cold-stress failures are common in Easton because the door was working fine in October and then a single 15-degree morning finds the weak spot. After a hard cold snap, do the visual check a little earlier than usual, and watch especially for:
- A bottom seal that’s gone stiff and no longer seals against the floor.
- Rollers that crack or drag in the cold – nylon rollers get harder as they age.
- Spring hardware that looks off, or a door that suddenly feels heavier.
- Snow packing against the bottom seal, which forces the door to close on an obstruction and stresses the opener.
Repeated power outages. Every outage means the door gets opened by hand or doesn’t get opened at all, and that puts cycles on the manual-release mechanism. Each outage, check that the opener’s release cord still pulls cleanly, that the door reconnects to the carrier when the opener runs, and that the opener’s internal settings survived the outage. Many openers reset their force and travel values when power returns – if the door is reversing without reason or stopping short, that’s the first thing to check. If the opener doesn’t recover its settings, call us; it’s a quick fix and an easy thing to spot over the phone.
Our experience of eight years on these systems is that intermittent failures track the weather. The door logs nothing, but the calendar does.
What to Check Before You Replace Parts
The most expensive way to maintain a garage door is to throw parts at a symptom. Before you buy a new roller, a new seal, or a new sensor, run through two or three checks to confirm the actual culprit. Some of the most common “wear” symptoms are really an adjustment or a coat of the right grease away from fixed.
Here’s the diagnosis order we use, before we hand you a parts list:
- Does the door move freely with the opener disconnected? If it does, the door hardware and springs are likely fine and the problem is in the opener. If it doesn’t, the issue is in the door assembly – springs, rollers, tracks, or cables.
- Is the door silent or noisy? A grinding or squeaking door with an otherwise working opener is usually a lubricant problem, not worn hardware. Lubricate the hinges and rollers first, then re-test before replacing anything.
- Does the door hesitate at one spot? A grind or catch at a single point in travel usually means a bent track, a stuck roller, or an obstruction – not a failed spring.
- Is the opener the only thing that changed? If the door runs by hand and the opener is suddenly weak, the opener’s drive or capacitor is the suspect. That’s a technician repair, not a parts purchase.
- Has the part been on the door since it was installed? A 12-year-old roller or seal is due. A two-year-old one that’s failing is telling you something else is wrong.
The advantage of working with a specialist on the parts side is that we know which rollers, seals, and opener components match which systems. Instead of ordering the wrong part and waiting for it to arrive, a technician with the correct replacement on hand makes one visit. That’s why our process carries Easton Garage Door Repair Pros as a single-source service for the door, the opener, the spring, and the parts.
Keeping a Simple Maintenance Log
You don’t need a spreadsheet. A note card taped inside the garage door frame is enough, and it pays off the first time something goes wrong. Log four things: the date of each monthly check, the date and result of each semi-annual inspection, what was lubricated, and the date of any repair. Over a year or two, that little card tells you whether the door is stable or whether you’re re-checking the same component every time.
For an Easton homeowner, the log is also a handoff document. When you call for service, you can tell the technician exactly when a sound started, what you already lubricated, and what failed in a previous winter. That short history often shortens the diagnosis, and on a door that’s running but not quite right, the history is half the answer. It also tells you when it’s time to think about a replacement rather than another repair – if the log shows repeated repairs on the same system, the door may have reached the point where new hardware under garage door installation makes more sense than a fourth fix.
We like to see that log at the start of a visit. It’s an honest record that beats a guess every time.
Common Mistakes to Avoid
- Reaching for WD-40 to stop a squeak. It quiets the door for a week and then strips the corrosion protection off the springs and tracks. The squeak comes back louder, and now the metal is rusting. Use lithium grease and silicone spray as described above.
- Greasing the tracks. The instinct is to treat the track like a hinge, but grease in the track turns it into a dirt magnet that wears the rollers and bends the rail over time. Keep the track clean and use dry silicone on the rubber seals only.
- Winding or adjusting the springs yourself. This is the single most dangerous mistake on the list. A torsion spring under tension can release with enough force to cause serious injury, and getting the wind count wrong can snap it. It’s a trained-technician job, full stop.
- Ignoring a door that won’t stay balanced. A door that drops in the balance test is telling you the springs are losing tension. Running it anyway puts extra load on the opener and accelerates the next failure.
- Replacing the opener when the door is the problem. If the door is heavy by hand, a new opener is just going to strain and fail sooner. Fix the door first, then reconsider the opener.
- Skipping the cold-weather check. In Easton, the first hard freeze finds every weak point. Check the seals, the rollers, and the spring hardware before the temperature drops, not after the door quits working.
- Assuming a flashing sensor means a broken sensor. Most sensor faults are alignment, dirt, or a loose connection. Clean and aim the lenses first before buying a replacement.
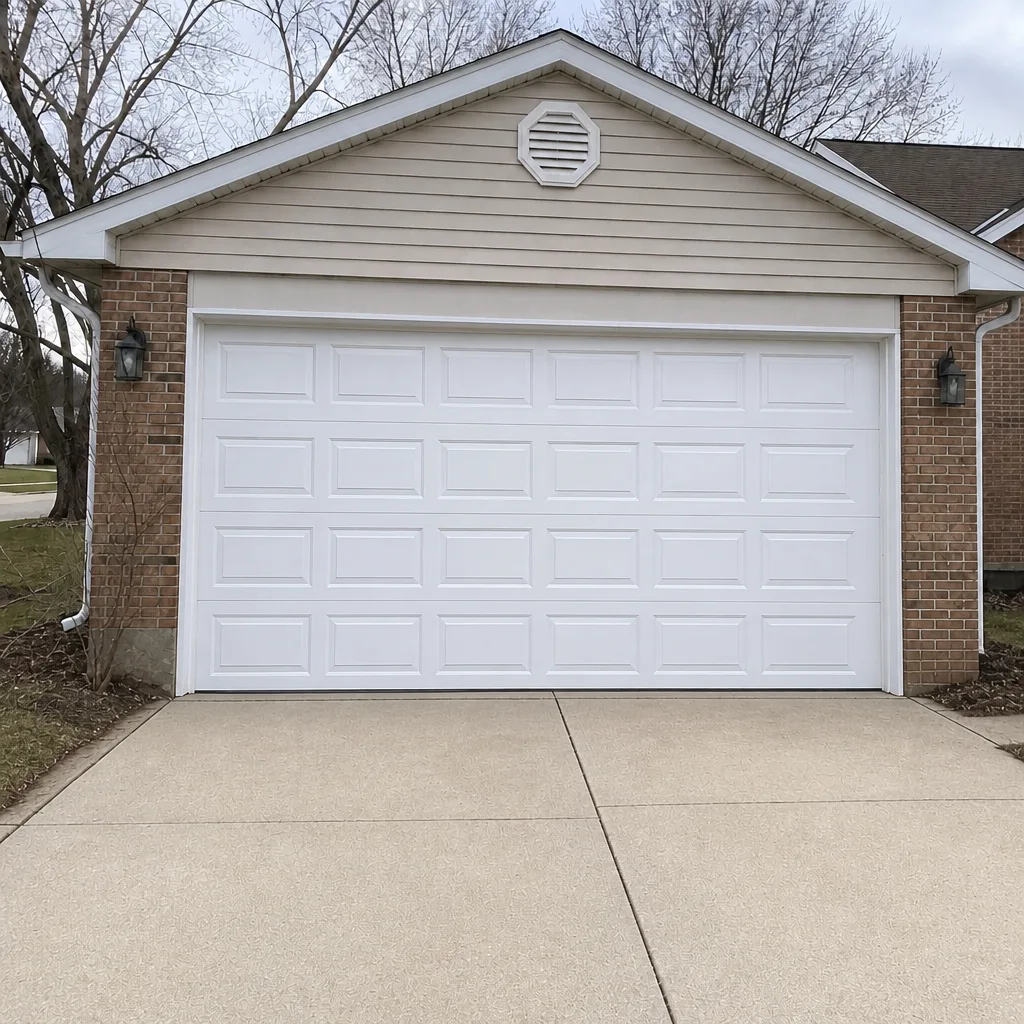
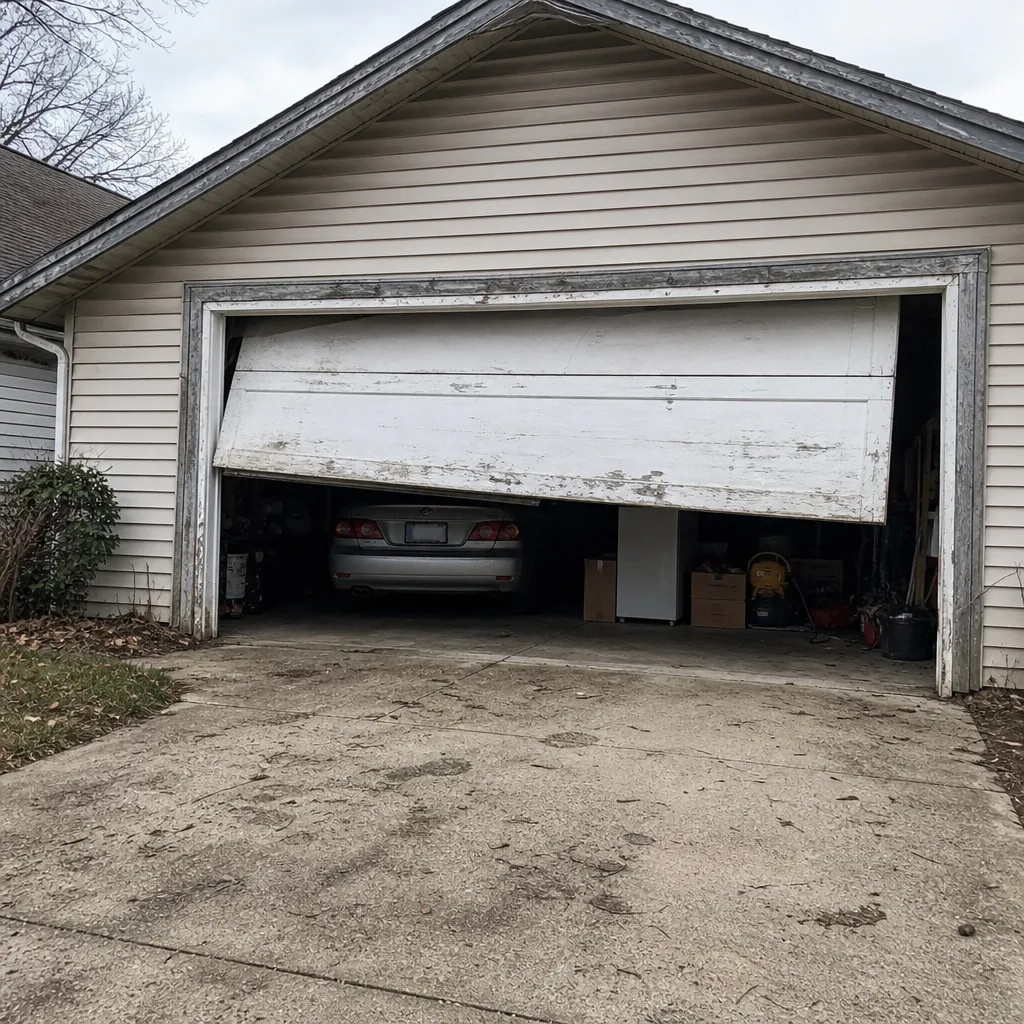
See the difference
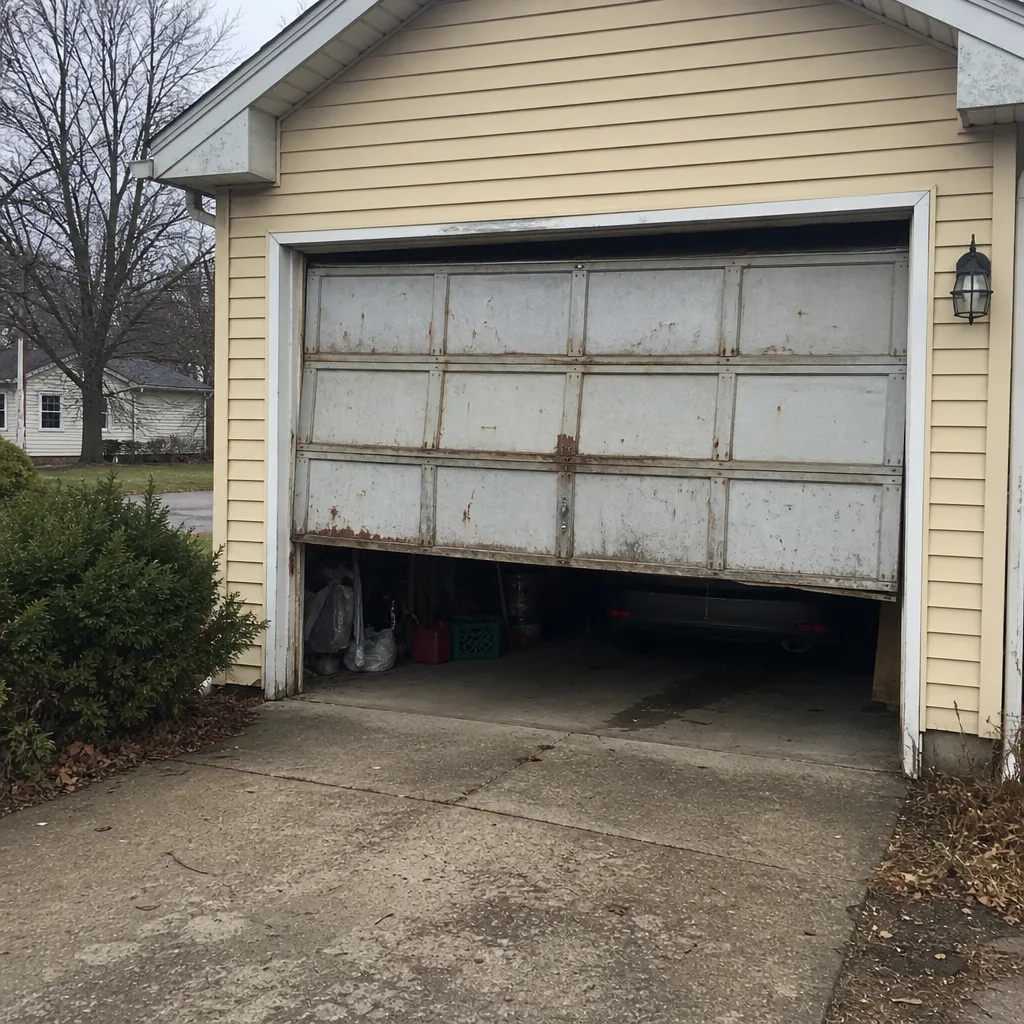 Before
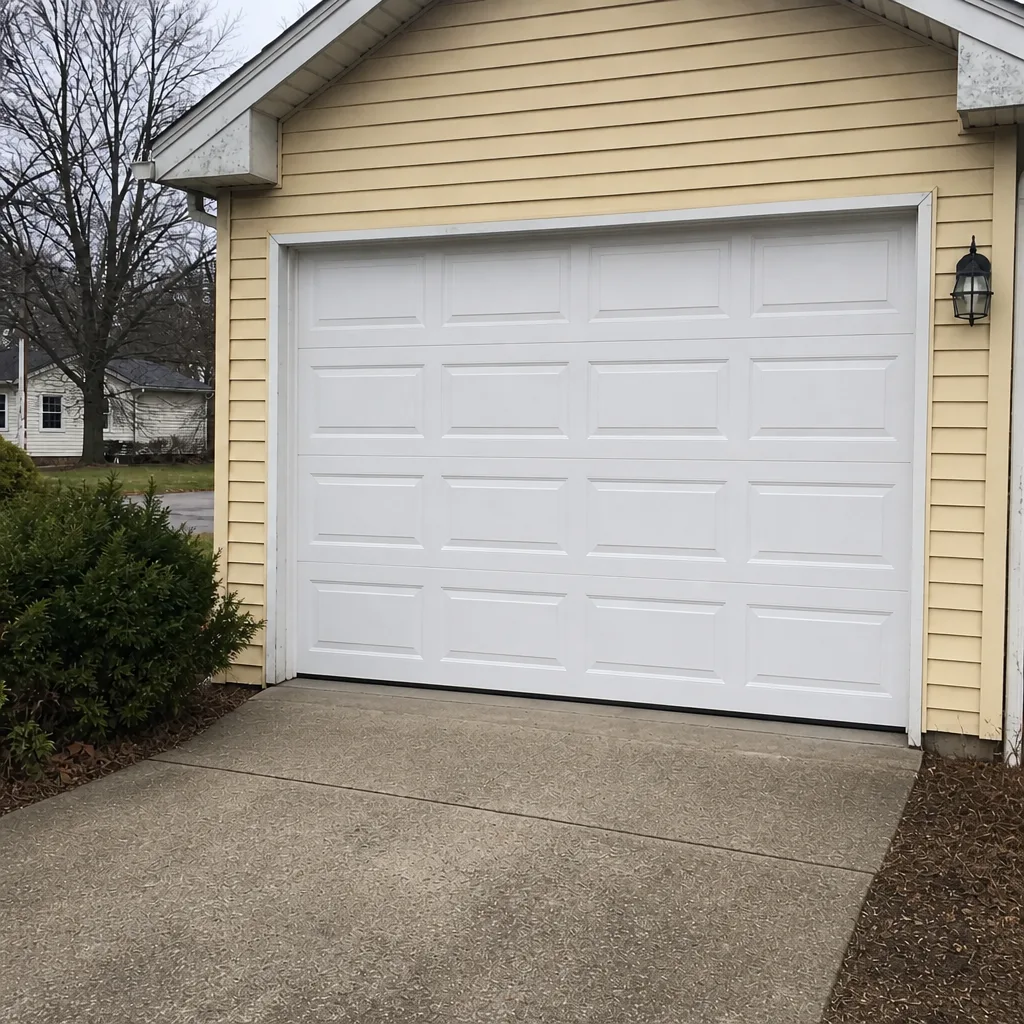 After
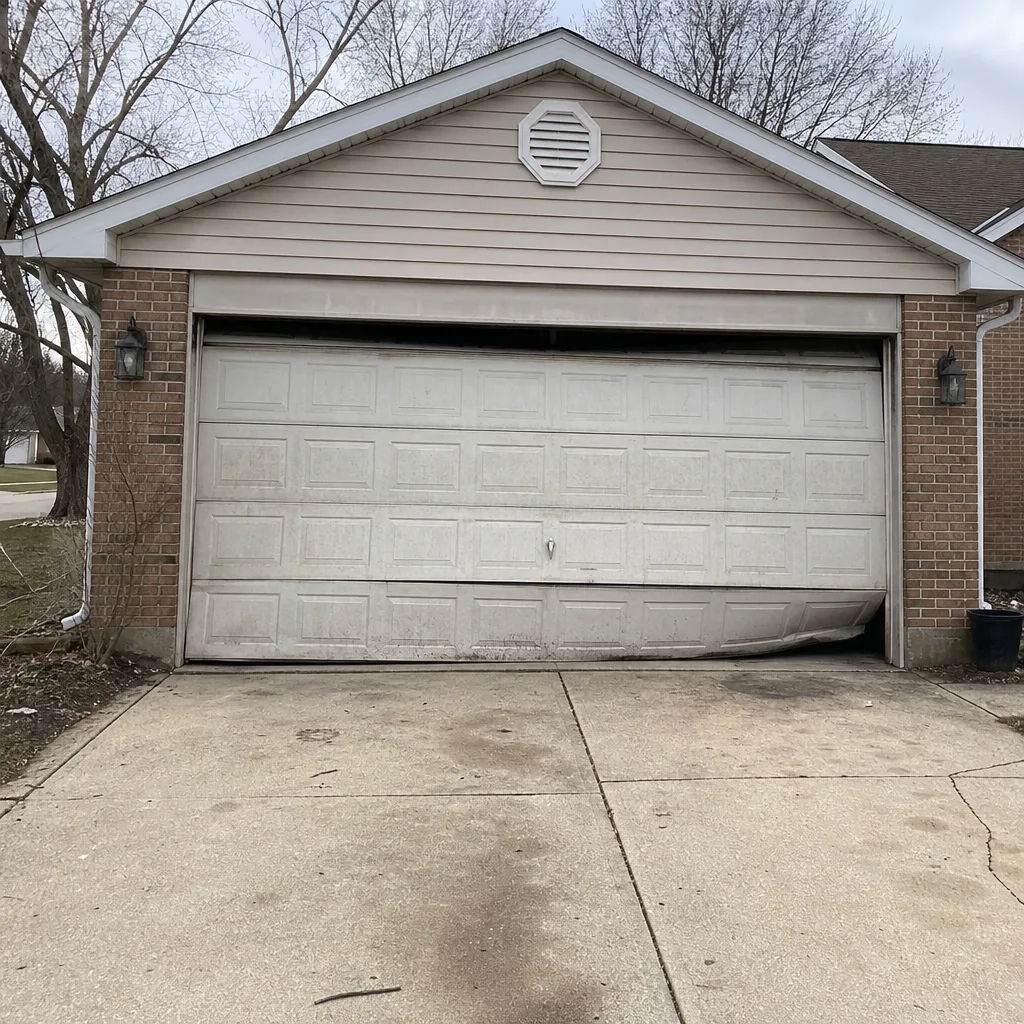 Before
 After
 Before
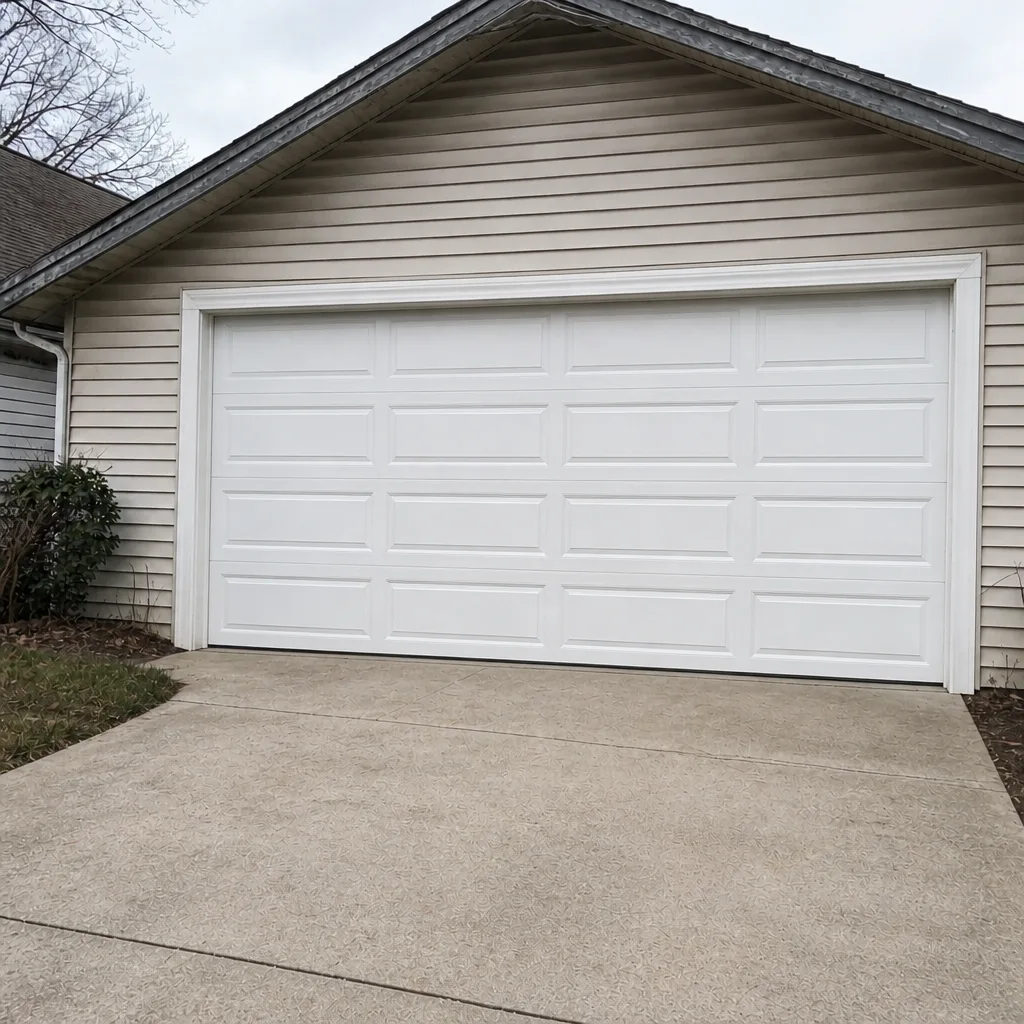 After
When to Call a Professional
Some things are worth a phone call the moment you notice them, and this checklist is designed to help you tell the difference. Call a professional immediately if you see a broken or separated spring, a slack or off-drum cable, a door that drops in the balance test, a door that won’t close or reverses without obstruction, or an opener that grinds, smokes, or smells hot. Those are the items where a failed component can drop the door and hurt someone. Anything involving the high-tension assembly is the wrong place to save a call. For a blown fuse, a dead opener, a bent track, or a sensor that won’t align, book a visit and let a trained technician handle the fix. Easton Garage Door Repair Pros offers free estimates in Easton. Call (866) 926-2341. We answer 24/7. Fast dispatch from 7am to 7pm, Sunday through Friday. The price is quoted and agreed before any work starts.
Frequently Asked Questions
Once a month for the two-minute visual check and twice a year for the 20-minute physical inspection, with annual lubrication. Easton’s hard winters make the fall inspection the more important of the two, and any run of repeated power outages is a good reason to move the next check up.
No. Leave the springs bare and dry. Most lubricants leave a film on a spring that collects grit and holds it against the wire, which causes wear rather than preventing it. Lubricate the hinges and rollers with lithium grease and the rubber seals and track with dry silicone spray; the springs stay clean.
The monthly check is a hands-off visual pass – look at the springs, cables, track alignment, rollers, floor gap, and listen for new sounds while you run the door. The semi-annual inspection is hands-on: the balance test, wiggling the hinges, testing the safety sensors and auto-reverse, and checking travel and force on the opener. If anything fails, stop and call.
No. WD-40 is a solvent and degreaser, not a lubricant. It quiets a squeak briefly but breaks down the protective film the correct products leave behind, and on springs and tracks it speeds up the corrosion it’s meant to stop. Use lithium grease on the hardware and silicone spray on the seals and track instead.
Start with the safety sensors – clean the lenses and check that both lights are on and aimed at each other. Then test the auto-reverse on contact with a roll of paper towels. If the door still reverses with nothing in the way, or reverses as it starts up rather than down, the opener’s travel or force settings are likely the cause, and that’s a technician call.
Repair usually makes sense when the door itself is sound and the problem is an opener, a spring, rollers, or a seal. Replacement tends to make more sense when the door panels are rusted or damaged beyond repair, the hardware keeps failing in different places, or the opener’s system is old enough that parts are hard to source. A technician can tell you the balance at the visit. Call (866) 926-2341 for a free estimate either way.
The local pro is licensed and insured as their state requires. Ask before the visit if you want the details in writing. Our team connects you with vetted local professionals, and we can walk you through what to expect on the visit.
The Bottom Line
Garage door maintenance in Easton comes down to a short, honest checklist done on schedule: a two-minute visual pass each month, a 20-minute hands-on inspection twice a year, and the right product on the right part – lithium grease on the hardware, silicone spray on the seals and track, and nothing on the springs. The items that matter most are the ones you don’t touch: springs and cables are a professional job, always. Everything else is a habit. Check in the fall before the cold finds the weak spot, bump up the inspections after hard winters or repeated outages, and keep a simple log so the next visit starts with facts. If something on the checklist comes up a fail, or the door’s behavior has changed in a way you can’t explain, don’t wait for it to get worse. Call (866) 926-2341 for a free estimate. We answer 24/7. Fast dispatch from 7am to 7pm, Sunday through Friday. The price is quoted and agreed before any work starts.
Written by the team at Easton Garage Door Repair Pros.